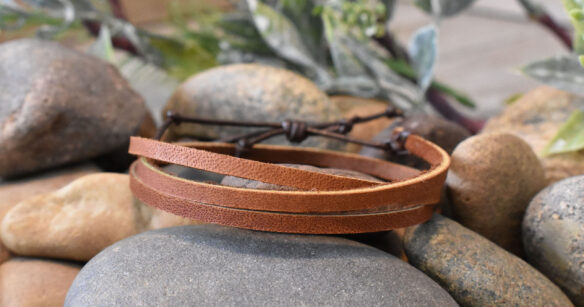
Bracelet Kit
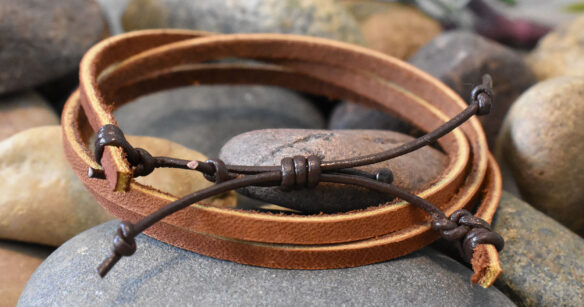
The Leather Latigo Lace Wrap Bracelet Kit includes a 24″ leather latigo lace and 24″ rounded leather cord (colors may vary). The only tools required are scissors and ruler, but some patience may come in handy. This bracelet is made with one of the most versatile materials and is both durable and flexible. This cultural project encourages students to create a leather bracelet to remind them of their own strength and to stand strong against bullying. Parents should participate in the activity by lending a hand (or in this case, a wrist!) to help their student complete the bracelet.
Instructions:
Step 1: Measure and cut the 24″ rounded leather cord to create three separate equal 8″ cords (two cords will be securely knotted to each end of the leather latigo lace and the third for a single sliding knot).
Step 2: Take the end (approx. 3.5″) of the 8″ cord and wrap tightly 3 times around the end (about .5″) of the leather latigo lace. Tie a secure overhand knot twice. Repeat Step 2 for the other end of the leather latigo lace.
Step 3: Place the two bracelet cord ends alongside each other with the ends pointing away from one another.
Step 4: Use the remaining 8″ rounded leather cord to make the single sliding knot. Loop one end of the cord (about 3″) and lay it straight alongside the bracelet cord ends. Avoid crossing the cords.
Step 5: Loosely wrap the long end of the knot cord around the bracelet cords and the short end of the loop 4 times.
Step 6: Next, thread the long end of the knot cord back through the 4 loops you just created. Ensure all the cords are straight alongside each other.
Step 7: Slowly pull the two knot cord ends to tighten up your sliding knot. Make sure your loops stay in place to avoid crossing over each other. Adjust loops, if necessary.
Step 8: Tie an overhand knot at each end of the sliding knot and trim excess. Lastly, tie an overhand knot on each bracelet cord end. Remember, the bracelet cord ends are longer to allow the bracelet to expand.


